Connect Bluetooth Headphones to PC
In order to use AirPods or any other type of Bluetooth Headset with PC, you first need to add Bluetooth Headphones to PC and then go through a Setup process. On a Windows 10 computer, you can add Bluetooth Headphones to PC using both Settings App and also the Control Panel. Once Headphones are added to computer and setup, you will be able to listen to Music or Podcasts privately, without disturbing people around you in Office, Library or Home.
1. Connect Bluetooth Headphones to PC
Follow the steps below to connect Bluetooth Headphones to Windows 10 Laptop or Desktop Computer.
Make sure the Bluetooth Headphones are turned ON and placed near the computer.
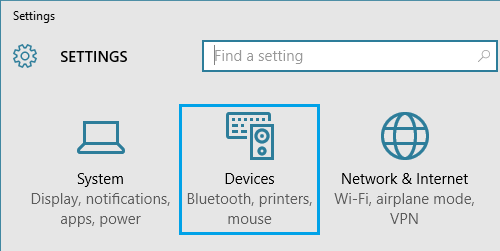
Open Settings on your computer and click on the Devices icon.
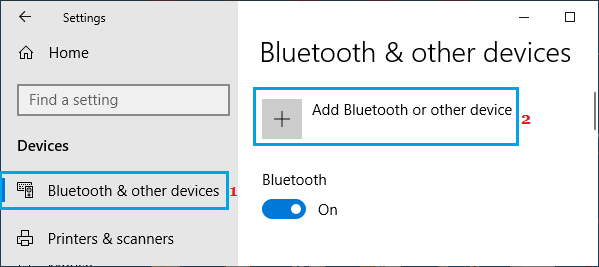
On the next screen, select Bluetooth and other devices in the left-pane. In the right-pane, click on Add Bluetooth or other device option.
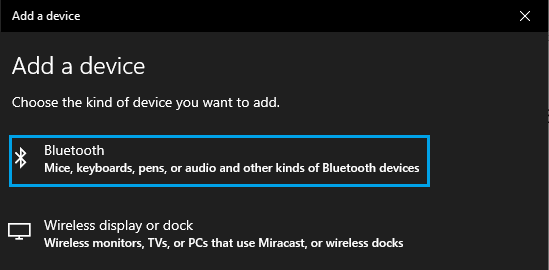
Note: Make sure the Bluetooth option is toggled ON. 4. On Add Device screen, select the Bluetooth option and wait for the computer to discover your Bluetooth Headphones.
Note: You may have to press the pair button to allow Headphones to be detected. 5. Once the Headphones are discovered, click on your Headphones and allow Windows to install the required drivers.
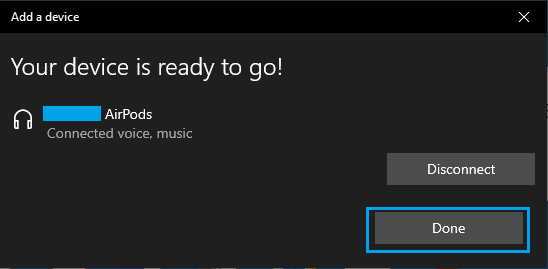
- After the Headphones are added, click on Done to exit the screen.
Note: Some Headphone models may prompt you to enter the Passkey for your device. Passkey is a series of numbers that you can find printed on a sticker on the back of the headphones. If not, you should be able to find the passkey in the instruction booklet.
2. Setup Microphone in Windows 10
If you are connecting Headphones to Computer for the first time, you also need to complete the setup process for the Microphones in the Headset.
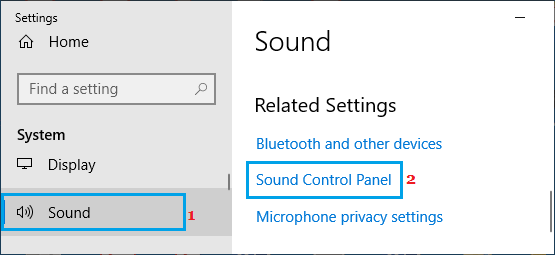
Go to Settings > System > click on Sound in the left-pane. In the right-pane, scroll down and click on Sound Control Panel link, located under “Related Settings”.
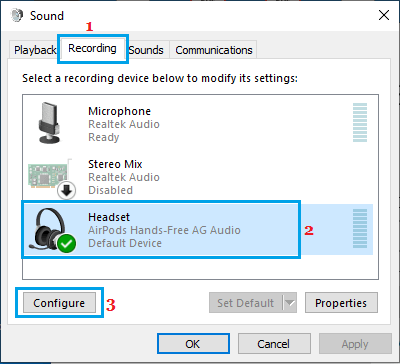
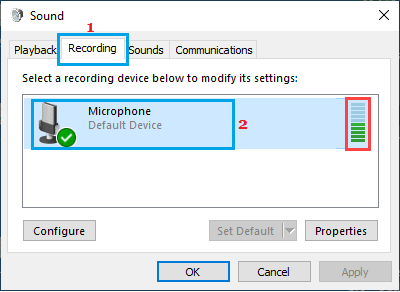
On the pop-up, click on the Recording tab > select your Headset and click on Configure.
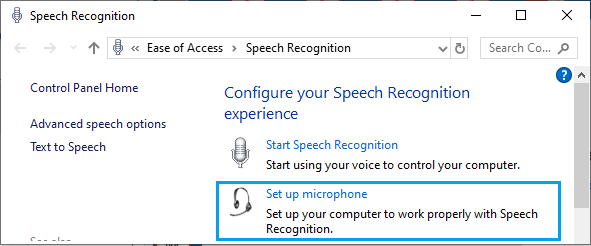
On the next screen, click on Set up Microphone option to open the Microphone Setup Wizard.
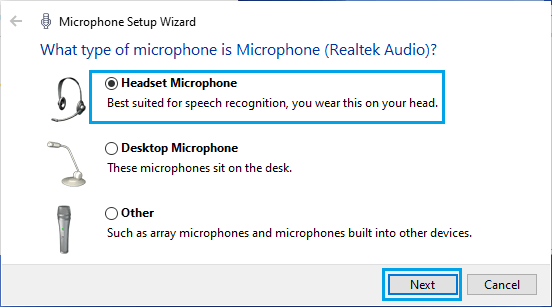
On Microphone Setup Wizard screen, select Headset Microphone option and click on the Next button.
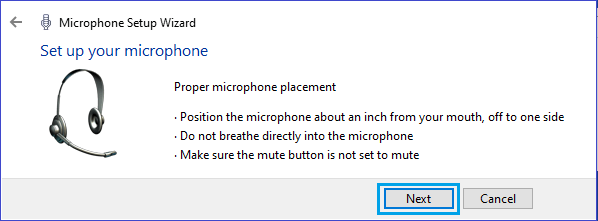
The next screen, read & understand the tips for using Microphone and click on Next.
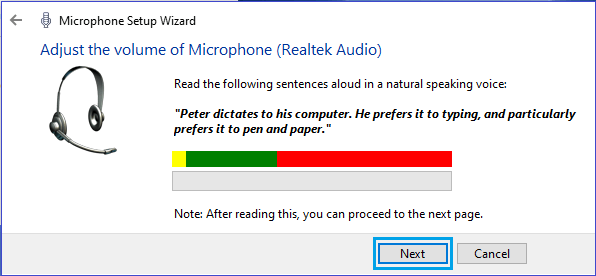
Next, read the Sentence as displayed in your natural speaking voice and click on Next.
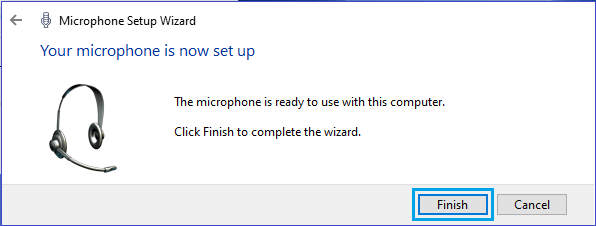
Finally, click on the Finish button to complete the setup process.
3. Test & Configure Headset Microphone
Windows 10 also provides the option to test the Microphone on your Headset to make sure that it is working properly.
Go to Settings > System > click on Sound in the left-pane. In the right-pane, scroll down and click on Sound Control Panel link under “Related Settings”.
Select the Recording tab > Speak in your natural voice and you should see Green bars rising as you speak.
If the recording device is not working, you won’t see Green bars. In which case, you may need to update the drivers and redo the setup process.
Fix For Bluetooth Icon Missing in Windows 10 Fix For Bluetooth Not Working in Windows 10