Does your Logitech MX product lag? If so, then it is possibly happening due to the outdated version of the MX Master product. Be it a mouse or keyboard, you need to have the proper and up-to-date Logitech software installed for ensuring the smooth working of the MX Master series product. Along with this, you should also keep your device drivers always in good working order for a better gaming experience. Don’t worry, if you don’t know how to update Logitech MX Master software, below we are going to show you how to perform Logitech MX Master software free download for Windows PC.
Steps to Download, Install and Update Logitech MX Master Software for Windows PC
Logitech uses a special program called Options, for the products of this series line. Now, comply with the steps shared below to perform Logitech MX Master Software download on Windows PC. Step 1: Firstly, head over to the official download page of Logitech options. Step 2: Then, click on the Download option.
Step 3: After that, double click on the installer file to execute it and follow the on-screen instructions to finish the software installation.
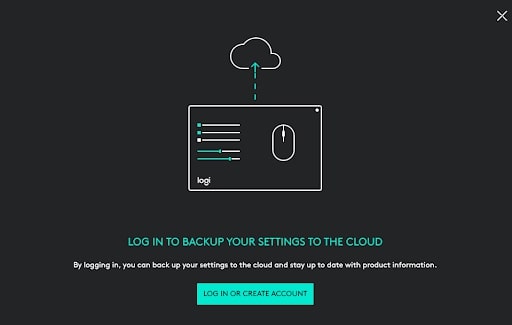
Step 4: Now, create or log in to a Logitech account in order to get the most of the software. This way you can also get better and enhanced customized options for your devices.
Within 4 steps and you are done. See how simple and instant it is to download the Logitech MX Master software on Windows 7, 8, 10 PC. Along with this, the table is given below to know whether your Logitech device requires MX Master Software or not. A Point to Remember: If in case, your product isn’t listed in the table, still you can get the Logitech MX Master software downloaded and installed in order to enjoy better customization options for your Logitech device. Also Read: Logitech G910 Driver Download, Install and Update
Bonus-Tip: Update your Device Drivers
Only downloading the Logitech MX Master Software isn’t enough in order to get the most of your Logitech device as well as PC. You should also keep your device drivers up-to-date and in tip-top condition in order to ensure the device’s overall performance. Talking about the driver download, then it can be done either manually or automatically. Manual Driver Update: Getting the latest version of drivers manually is a bit daunting and time-consuming task. But, if you have a good technical understanding then you can do so via visiting the official website of the manufacturer. Automatic Driver Update: As we said, finding the correct driver online is quite a tedious or even impossible task, specifically for newbies. Hence, we recommend you to use Bit Driver Updater to update the outdated drivers automatically. Bit Driver Updater is the best driver updater utility to fix all faulty drivers within just a few clicks of the mouse. Not only that, but the driver updater utility helps you fix numerous Windows-related problems too. Check out the steps shared below to know how Bit Driver Updater works: Step 1: First of all, download Bit Driver Updater from the button given below:
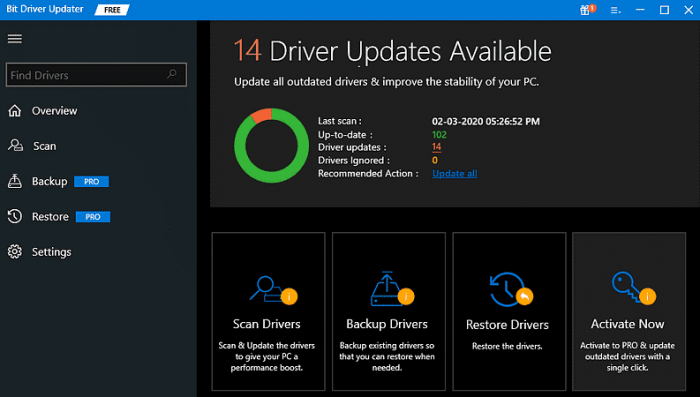
Step 2: Then, run the downloaded file and finish the software installation by performing the on-screen instructions. Step 3: After that, open the Bit Driver Updater on your PC and let it scan your machine for outdated, faulty, or broken drivers. Note: In some rare cases, the software doesn’t start on its own, if that happens with you as well, then you need to start the scanning manually by making a click on the Scan button from the left pane.
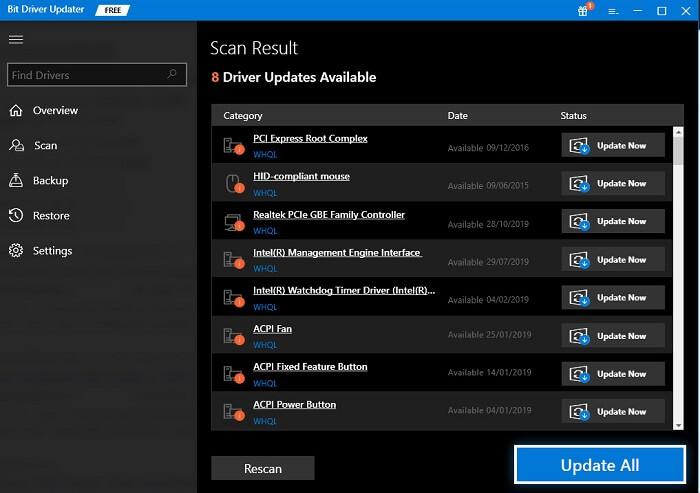
Step 4: Go through the scan results and make a click on the Update Now button presented next to the driver you wish to update. Step 5: Alternatively, you can click on the Update All button for bulk driver downloading.
It is suggested that you should rely on the pro version of Bit Driver Updater as it takes only a few clicks of the mouse to get all the latest versions of device drivers installed on your system. Also, the pro version is highly capable of backing up the currently installed drivers before updating them, so that the user can be able to restore them whenever needed. Unlike others, the Bit Driver Updater offers only WHQL, certified drivers. It also possesses 60 days complete money-back guarantee and 24/7 technical support. Also Read: Logitech Gaming Software for Windows | Download Latest Version
Closing Words on Logitech MX Master Software on Windows 10, 8, 7
So, that was all about how to download and install Logitech MX Master Software for Windows PC. Furthermore, we have also explained how to update the device drivers, easily & quickly. We hope this guide helps you in the best way possible. Please tell us in the comments box below if you have any doubts, suggestions, or further information regarding the same. Additionally, do subscribe to our Newsletter for more downloading and installation guides just like this one. Lastly, follow us on our social media handles Facebook, Twitter, Instagram, and Pinterest.